Architecture Overview
Dexter turns one product photo into an articulated 3D asset with separate meshes for each moving part, arranged in the right poses, and exported as USD for simulators like NVIDIA Isaac Sim.
You do not run a long shell script or click through a GUI wizard. You talk to an orchestrator agent in OpenCode. It reads your image, calls specialist agents when judgment is needed, runs Python and Blender scripts for everything else, and pauses twice so you can review the result before expensive steps continue.
This page explains the flow at a high level. For field-level detail on agents, JSON artifacts, and tool scripts, see Agentic Loop.
What you start with
You give Dexter a single reference photo of a dishwasher, refrigerator, cabinet, or similar everyday object. The photo should show the object clearly, ideally with articulation visible (a door open, a drawer pulled out).
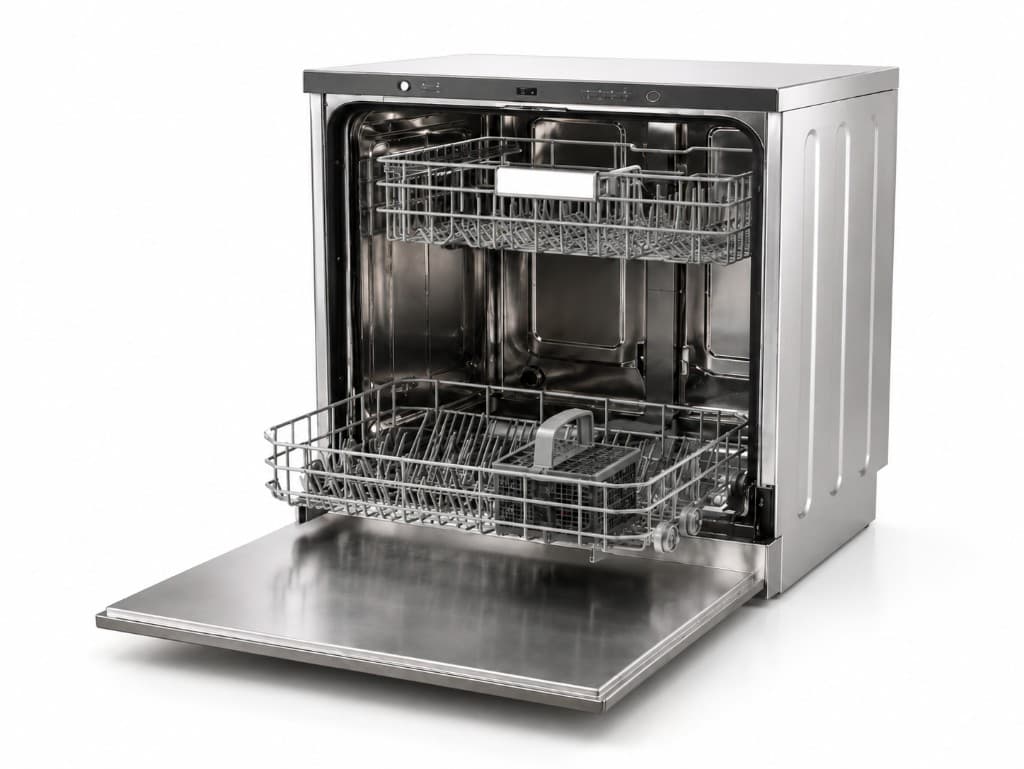
A typical input: one product photo with visible moving parts.
The orchestrator copies this image into a run folder (.intermediate/<asset>/<NNN>/source.png) and works from there. Everything the pipeline produces, JSON files, meshes, renders, blends, accumulates in that folder.
Who does the work
Dexter splits work between agents (LLM judgment) and tool scripts (deterministic code). One orchestrator sits in the middle and owns the full sequence.
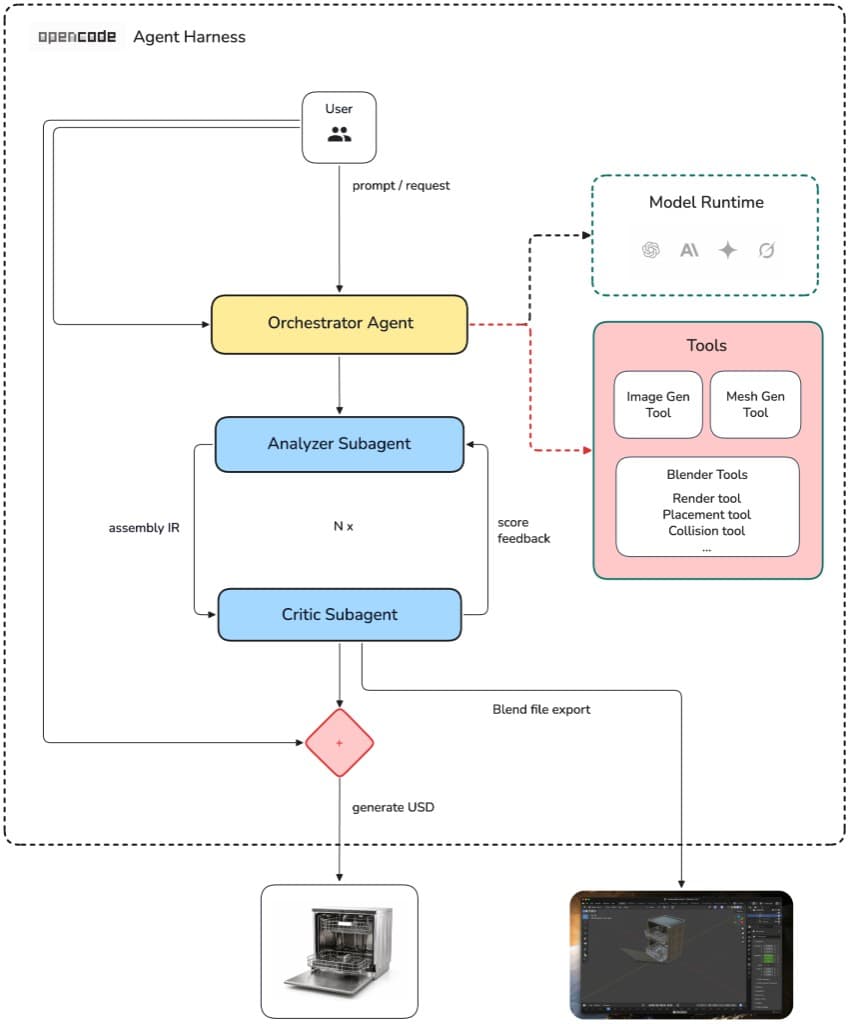
You prompt the orchestrator. It routes work to two subagents and runs tool scripts for the rest.
| Piece | What it does |
|---|---|
| Orchestrator | Decides which step runs next, invokes subagents and scripts, tracks the best layout, pauses at human gates |
| analyze subagent | Looks at the photo and writes a part list (parts.json) |
| critic subagent | Compares rendered views to the photo and writes layout fixes (critic.json) |
| Tool scripts | Generate images and meshes, place parts in Blender, render views, export USD |
Subagents never talk to each other. The orchestrator passes files between them. There is no standalone Python pipeline driver; the orchestrator prompt is the entrypoint.
The flow, step by step
Name the parts
The analyze subagent studies source.png and breaks the object into moving parts: a cabinet body, a door, racks, drawers, and so on. For each part it records a name, a short description, how it connects to its parent, and a joint type (fixed, revolute, prismatic).
It also writes initial size and pose numbers, how big each part is in metres and where it sits in the photo. All of this lands in parts.json.
Review the part list
Before any 3D APIs are called, the orchestrator stops and shows you parts.json. This is the first human gate. You confirm that part names make sense, descriptions are accurate, and joint types match what you see in the photo. If something is wrong, you edit or ask for changes before continuing.
Build a mesh for each part
Once you approve the parts, generate_components.py runs. For every part it:
- Generates an isolated PNG of just that part (OpenAI)
- Converts the PNG into a 3D mesh (fal.ai)
- Measures the raw mesh size (Blender)
The outputs are component_images/, component_glbs/, and component_dims.json. Each part gets its own GLB file.
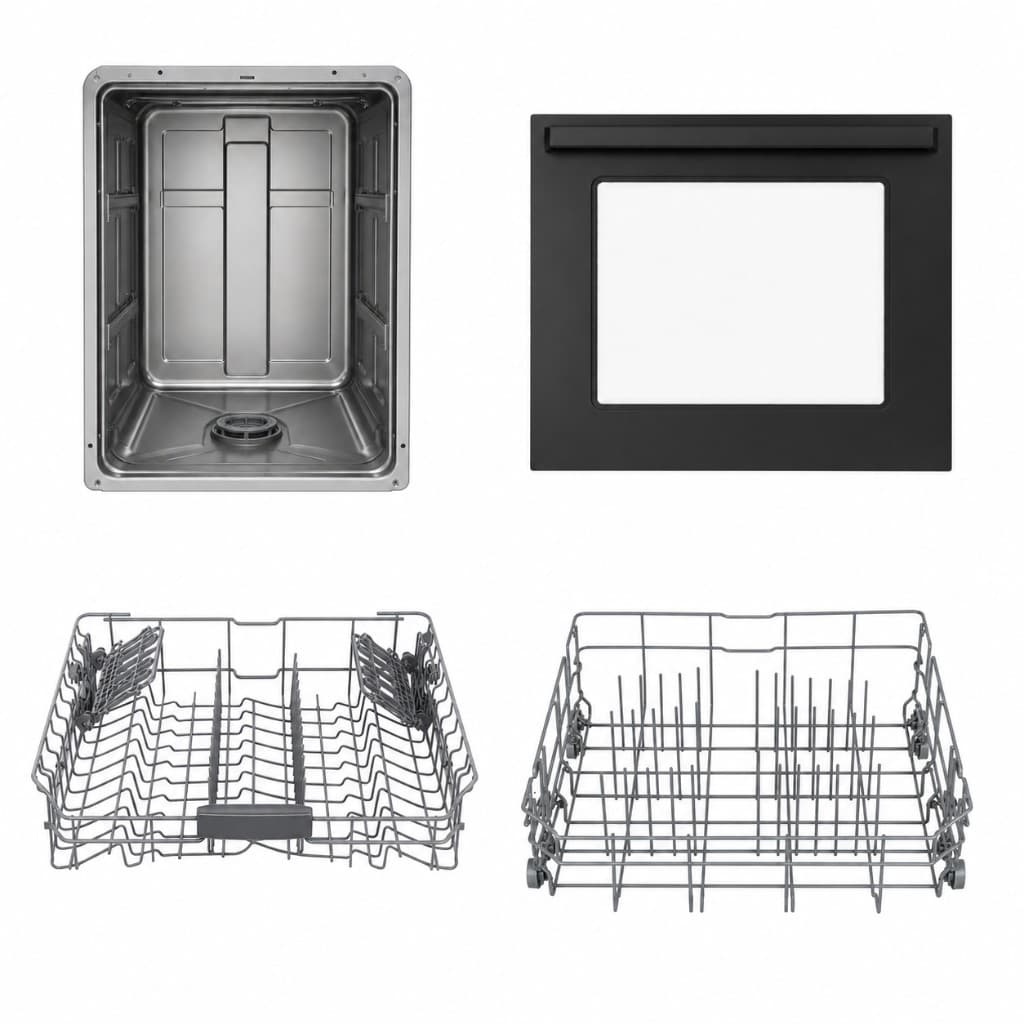
Isolated part images feed image-to-3D models, one mesh per moving part.
Place parts in the scene
initialize_placement.py combines world-space poses from parts.json with raw mesh measurements from component_dims.json to build the first layout: iterations/001/assembly.json. Each part stores world position, rotation, and size in metres, plus pre-computed Blender node_scale and node_origin.
No LLM is involved here. It is pure geometry math. blender_assemble.py applies those transforms directly.
Render, score, and refine
Now the placement ↔ critic loop begins. Each round lives in iterations/NNN/:
- Assemble: Blender loads the GLBs and builds a scene (
assembled.blend) - Render: four views are captured: front, top, left, isometric
- Critique: the critic subagent compares the renders to your source photo and scores the layout
- Update: if the loop continues, corrections are applied to the next
assembly.json
The critic might say a door angle is too shallow, a rack is shifted left, or a part is the wrong size. Locked parts are left alone. The orchestrator keeps the best-scoring iteration even if a later round regresses.
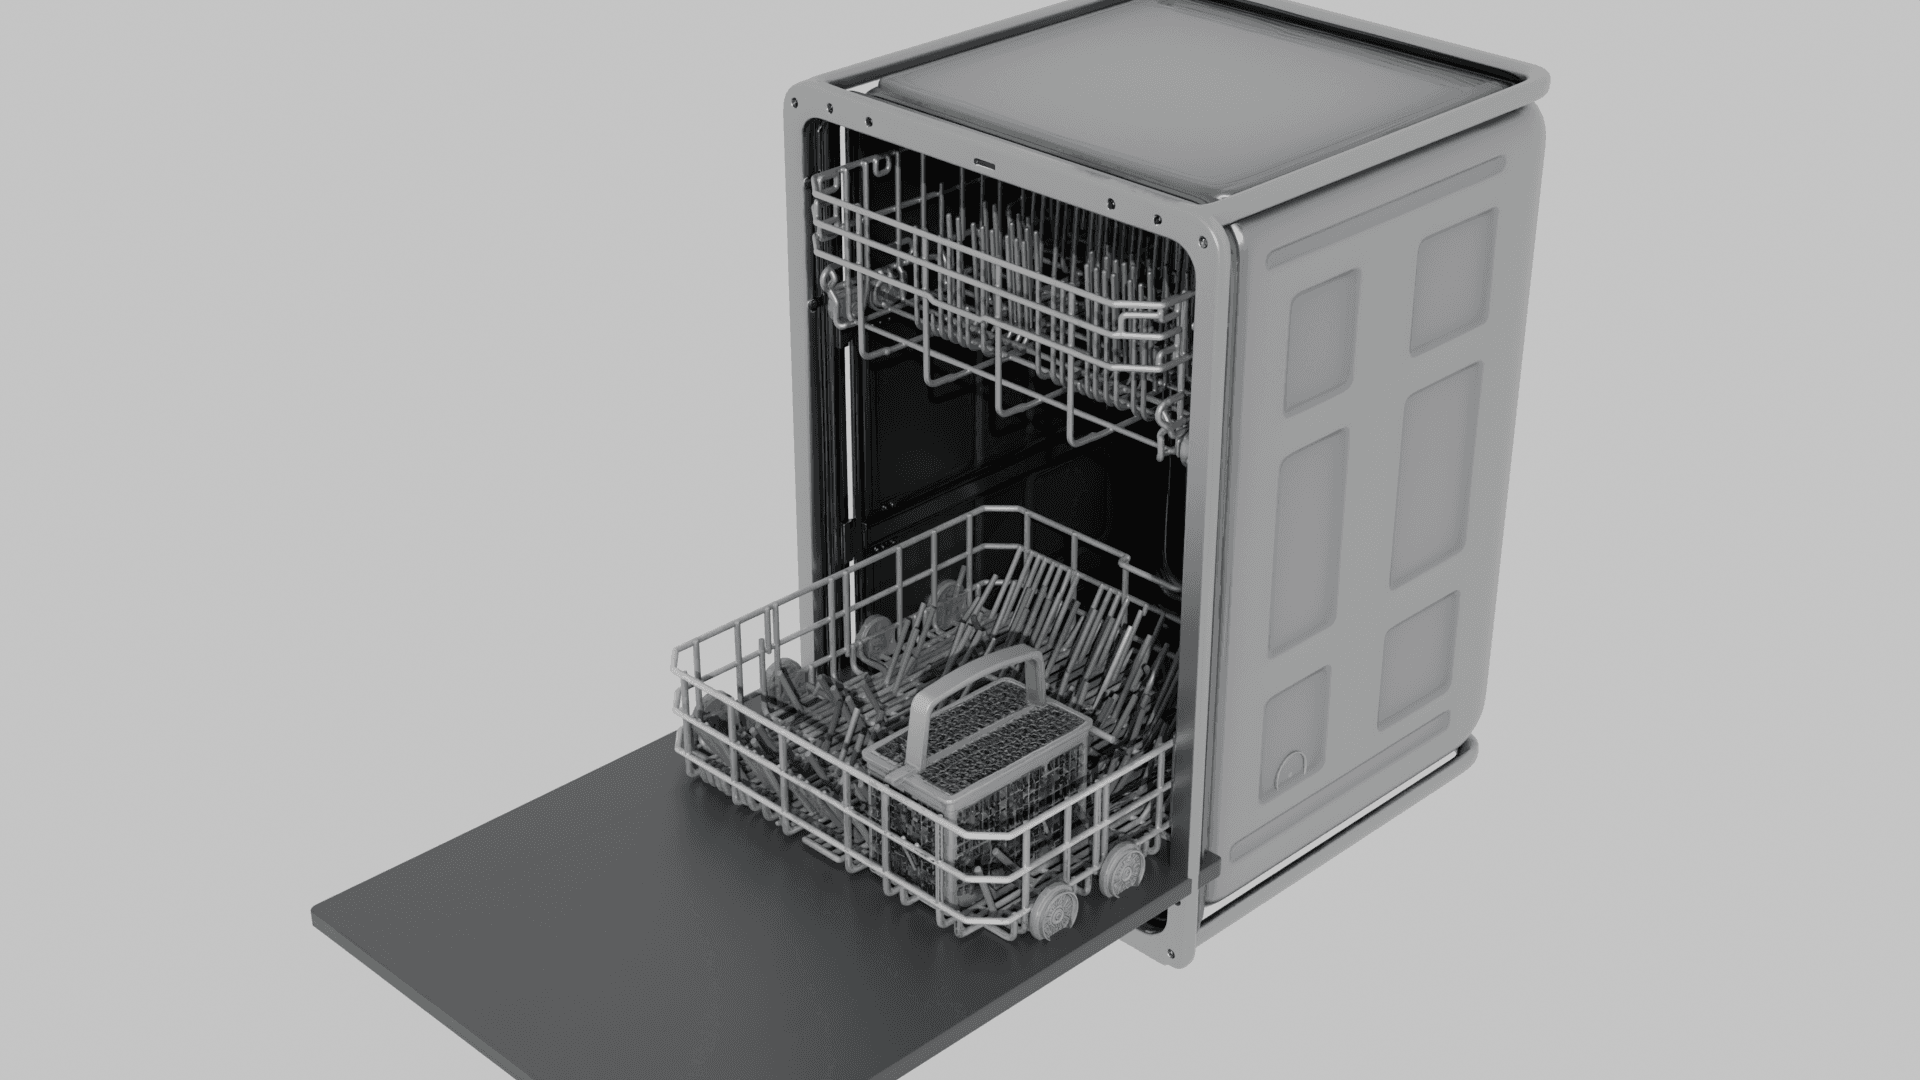
Each iteration produces renders the critic compares against the original photo.
| Loop stops when… | Meaning |
|---|---|
| Score reaches the threshold | Layout is good enough (default: 85+) |
| Max iterations reached | Hard cap (default: 5 rounds) |
| Score stops improving | No progress for several rounds in a row |
Approve the layout
When the loop ends, the orchestrator pauses at the second human gate. You review renders from the best iteration, the critic score, and the assembled Blender file. Approve it, pick a different iteration, or ask for more refinement through another critic round.
Export for simulation
After you approve, blender_export_usd.py writes the final package: robot.usda, extracted textures/, and a robot_prim_map.json that maps Blender object names to USD prim paths. This is what you load in Isaac Sim or similar tools.
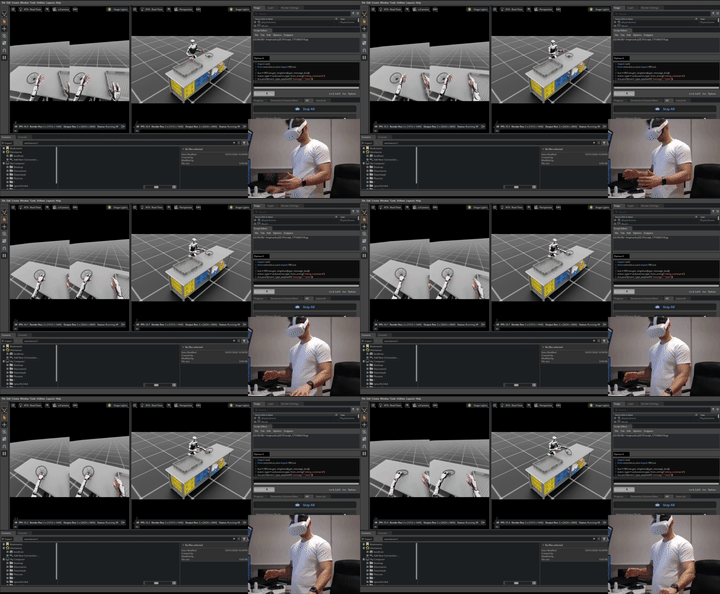
The end goal: an articulated asset you can actuate in simulation.
What an articulated asset means
A dishwasher is not one solid block. It is a chassis plus a door on a hinge plus racks that slide. Each piece is a separate rigid mesh connected by joints. In simulation you change joint angles, open the door, pull out a rack, instead of deforming a single frozen shape.
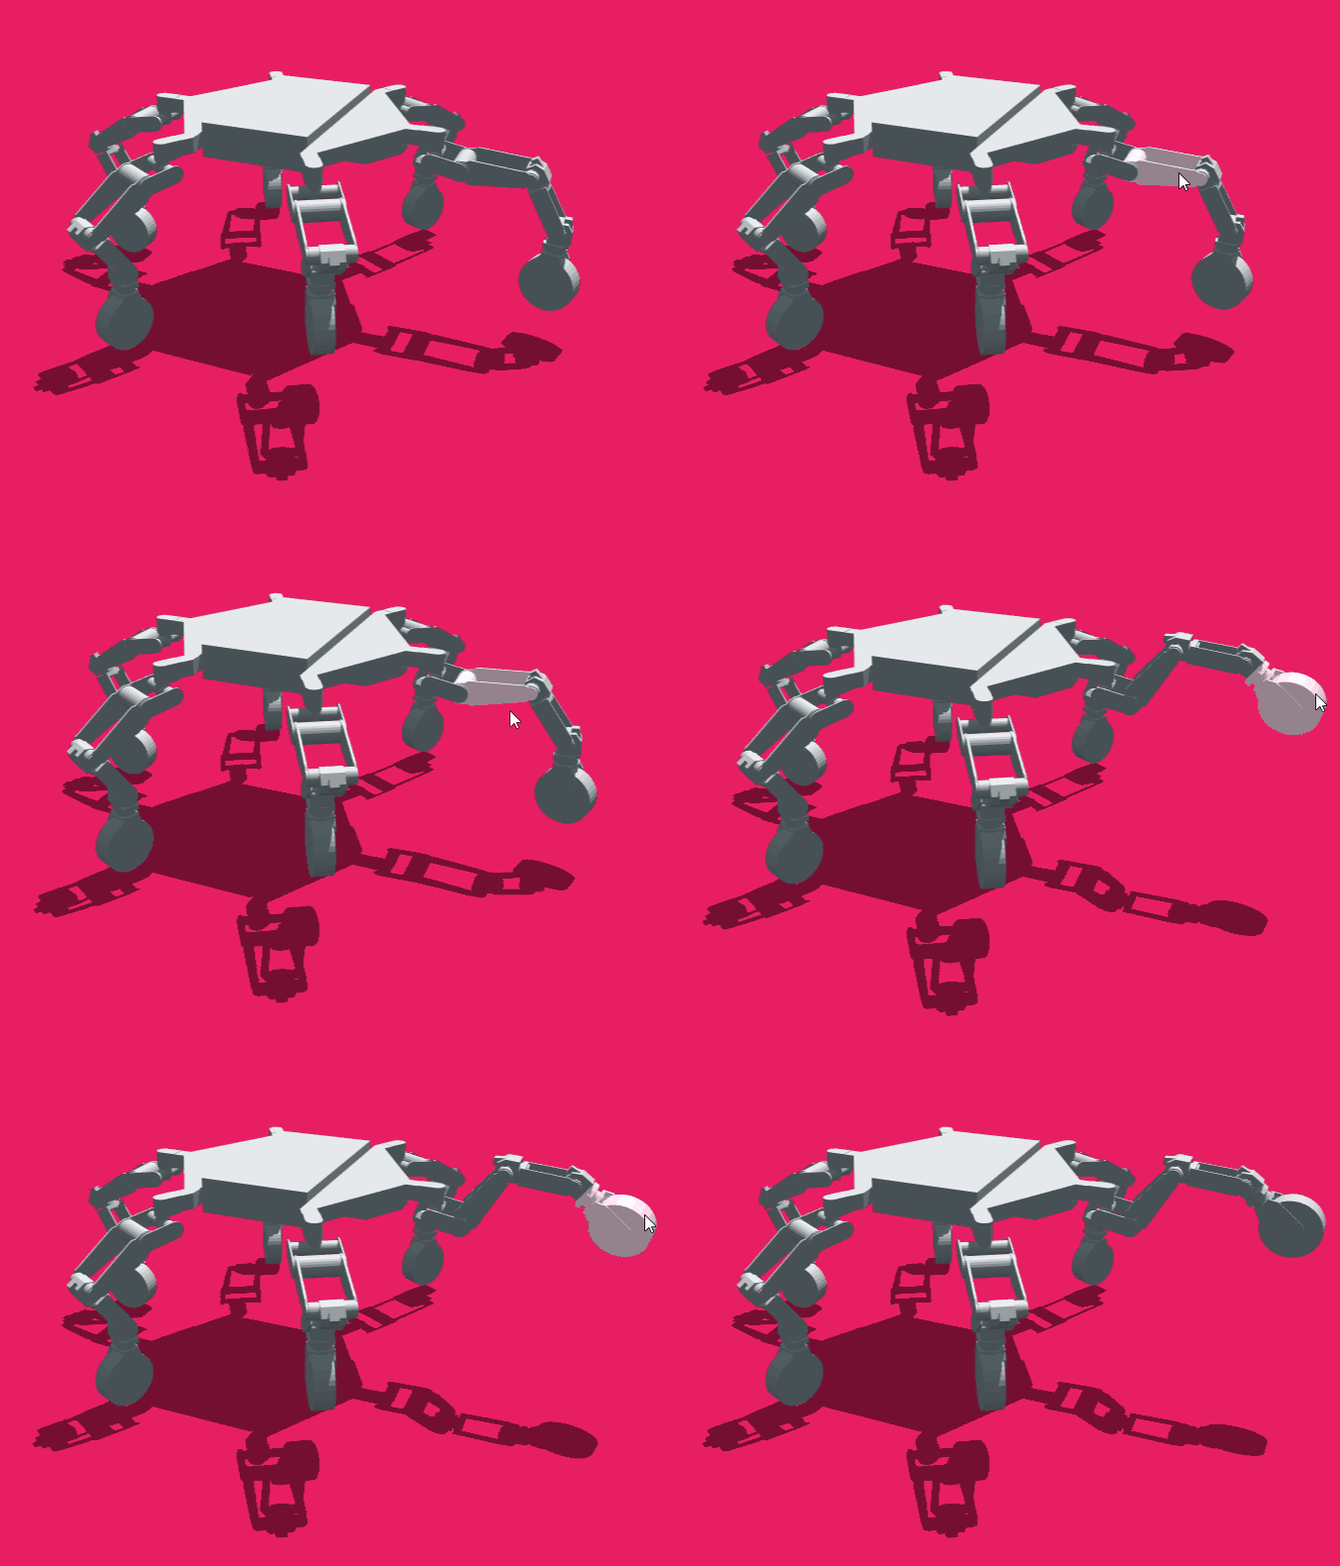
Articulation means independent rigid parts connected by joints, not one fused mesh.
| Deliverable | What it is |
|---|---|
component_glbs/<part>.glb | One 3D mesh per moving part |
parts.json | Kinematic tree, which parts exist and how they connect |
assembly.json | Layout, world-space pose plus Blender node_scale / node_origin per part |
critic.json | Score and per-part corrections from each critique round |
robot.usda + textures/ | Final USD package for simulators |
Where everything lives on disk
Each run writes to .intermediate/<asset>/<NNN>/. The orchestrator checks this folder before every step and skips work whose outputs already exist, so you can resume after a pause or interruption.
.intermediate/dishwasher/001/
├── source.png
├── parts.json
├── component_dims.json
├── component_images/
│   ├── body.png
│   ├── front_door.png
│   ├── lower_rack.png
│   └── upper_rack.png
├── component_glbs/
│   ├── body.glb
│   ├── front_door.glb
│   ├── lower_rack.glb
│   └── upper_rack.glb
├── iterations/
│   ├── 001/
│   │   ├── assembly.json
│   │   ├── assembled.blend
│   │   ├── render_views.json
│   │   ├── renders/          # front, top, left, isometric
│   │   └── critic.json
│   ├── 002/
│   │   └── …
│   └── 006/
│       └── …
├── robot.usda                # final deliverable (after placement approval)
├── robot_prim_map.json
└── textures/
One run folder holds the source image, parts IR, generated meshes, placement iterations, and the final USD.
Summary
| Stage | Who | Output |
|---|---|---|
| Part identification | analyze subagent | parts.json |
| Human review | You | , |
| 3D component generation | generate_components.py | PNGs, GLBs, dims |
| Initial placement | initialize_placement.py | iterations/001/assembly.json |
| Refinement loop | Blender scripts + critic subagent | renders, critic.json, updated assemblies |
| Human review | You | , |
| USD export | blender_export_usd.py | robot.usda |
Dexter does not run inside a simulator. It is the step before simulation, turning a photo into something a simulator can load and actuate.
Next: Agentic Loop, agents, intermediate representations, tool scripts, and schemas in full detail.
Example run: Sample Run: Dishwasher · Get started: Installation & Run